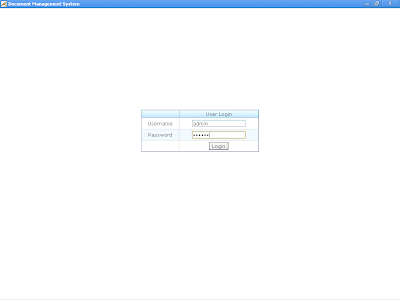
Registered user can login to the application through their user name and password.
Context Menu is loaded at the left hand side panel and log in information is shown at the right side panel. Middle panel is the working area where forms are loaded.
Usage of Refresh Button:
- Clear And Reload Form:
Refresh button has been placed at the top of each form. It helps to clear and reload form without visiting context menu at right hand side panel.
- Retrieval of Online Data:
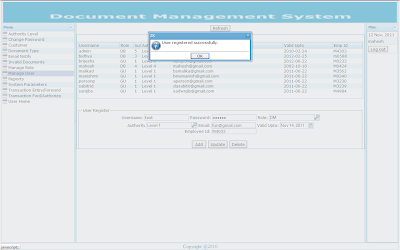
The data grid (Manage User) is not auto loaded after modification in the existing record and after creation of new record (user) as well. For example, if new user is registered, need to press refresh button to load the new user registered (changes) in the “Manage User” grid.
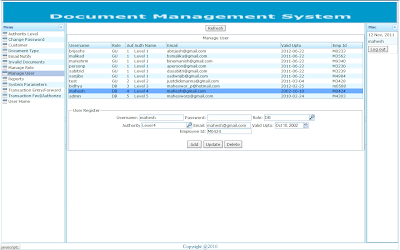
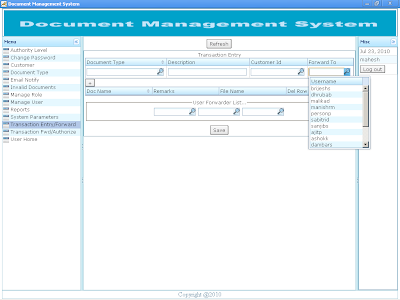
Data is loaded on the grid for further processing. When user clicks on the specific record, the details are loaded on the processing block (User Register), so that it can be modified as required. The user form controls such as “Add”, “Update”, and “Delete” buttons are loaded as per role granted to the user and their access on the each working forms. Search in Drop down List: The drop down list can be used for searching your required data as shown in the screen below. The list searches your data on each “Enter Key”. Type your text, to search in the list and enter the “Enter Key”. The list then returns filtered or matched data to the user that can be selected. |
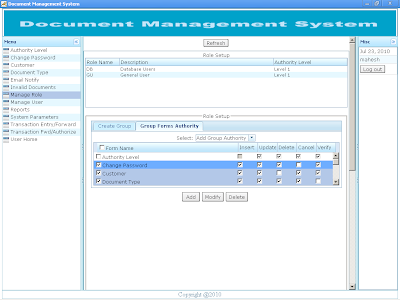
Role Based Access Control Mechanism Role can be created from Manage Role menu. Required forms can be selected from the list and privilege on specific controls can be permitted and revoked. Mark required controls (“Insert”, ”Update”, ”Delete”, ”Cancel”, ”Verify”) to provide access on forms and unmark those controls that are not permitted to the role. There is no need to grant access permission on each form to the users. The user belonging to the role directly has access control to the role forms. |
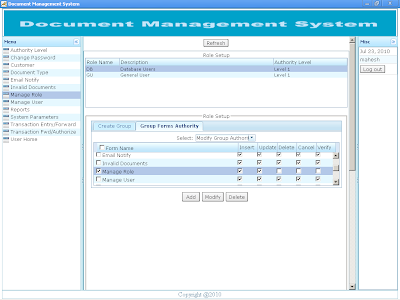
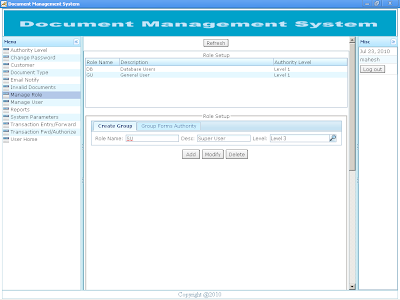
Steps for Role Creation: Add 1. Enter Role Name, Description and select Authority level from list. 2. Select Add Group Authority and check mark the record to give access in the forms. Specific operation can be allowed and disallowed by marking and unmarking the operation. 3. The press “Add” button to save the Role information. Screen shot of Role creation (First Tab View) |
Screen shot of Role creation (Second Tab View) |
Modify 1. Select record from the “Role Setup” data grid. 2. Make necessary changes. 3. Press “Update” button. Delete 1. Select record from the “Role Setup” data grid. 2. Press “Delete” button. |
| User Creation and password management User can be created with ease with necessary information on “User Register” block. The user belonging to the role can be selected from the Role list. The user receives access permission from the role assigned. Date can be selected from the date box. Valid email address is required. This email address is used during document Forward process. |
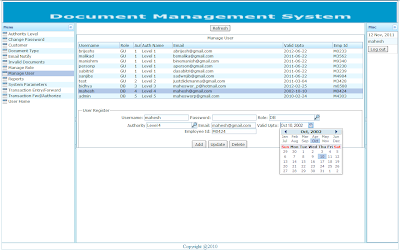
Steps for User Creation: Add 1. Enter username and password. 2. Select Role, Authority from list. 3. Enter valid email address, date and employee id for the user. 4. The press “Add” button to save the user information. Modify 1. Select record from the “Manage User” data grid. 2. Make necessary changes. 3. Press “Update” button. Delete 1. Select record from the “Manage User” data grid. 2. Press “Delete” button. Screen shot user creation |
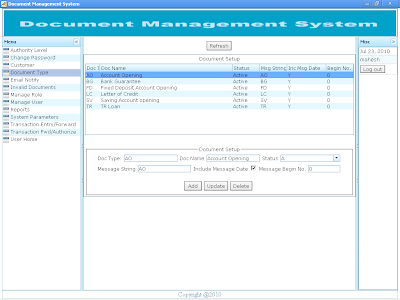
Define your own Document Type DMS allows define your own document involved in the business process. New document type can be added as a part of the business process. Document number is generated based on the document type definition. The document number is parameterized and can include two digit message string, document message date and ten digit message serial numbers. Document number AO060720100000000019 represents Account Open document on 6th July 2010 with serial number 19. This document category has starting serial number set to zero. |
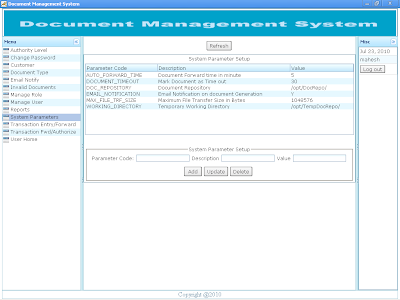
System Parameters System parameters define the behavior of the application. 1. EMAIL_NOTIFICATION : Enable or disable email notification service in the application. The value of “Y” enables the email notification service else not. 2. DOCUMENT_TIMEOUT: Timeout in minutes for processing forwarded documents. If recipient do not respond to the document for DOCUMENT_TIMEOUT period, then document is marked as timeout and forwarded to next user in the priority list. 3. AUTO_FORWARD_TIME: Time specified in minutes, application waits to process document in priority list. 4. DOC_REPOSITORY: It is the central repository for storing the processed documents. 5. WORKING_DIRECTORY: It is used temporarily during file download process. 6. MAX_FILE_TRF_SIZE: Maximum File Transfer Size in Bytes application can handle. The application will not entertain file size greater than MAX_FILE_TRF_SIZE parameter. Screen shot of the system parameter is shown below: |
1 comment:
Your thinking toward the respective issue is awesome also the idea behind the blog is very interesting which would bring a new evolution in respective field. Keep update more information.
Document Management Software
Document Management Software India
Post a Comment